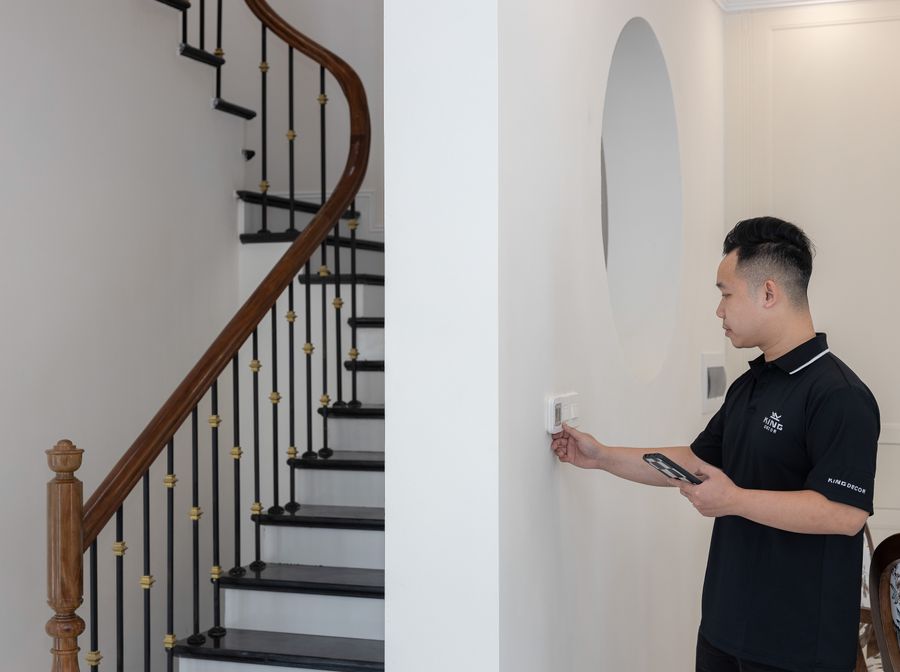
Turning a regular house into a connected one sounds exciting until you start pricing out hubs, sensors, and installation labor. The gap between a weekend plug-and-play project and a full-scale rewiring job is huge, and most homeowners don’t realize that until they’re deep into research. If you’re thinking about taking the leap, understanding what you’re actually signing up for — in both hours and dollars — matters more than picking the fanciest brand.
The truth is, there’s no single right way to do this. Some people get everything they need from a handful of smart plugs and a voice assistant. Others want whole-home climate control, security integration, automated shades, and lighting scenes tied to sunset. Each path has its own learning curve, its own price tag, and its own timeline.
This comparison breaks down what you can realistically expect at each level, how long the work takes, and where people most often blow their budgets. The goal here isn’t to sell you on a specific setup — it’s to help you weigh the options honestly so you can decide what actually fits your home and your patience.
DIY Kits Versus Professional Installation
The first decision you’ll face is whether to handle the setup yourself or hire someone. DIY has become genuinely accessible in the last few years. Brands like Wyze, Kasa, and Philips Hue let you add devices in minutes. A basic do-it-yourself project can wrap up in about two to four hours once you’ve got your gear and a solid Wi-Fi connection.
Professional installation flips that equation. A certified installer will handle wiring, mounting, network configuration, and integration with existing systems like HVAC or alarms. You pay more, but you also avoid the frustration of a motion sensor that keeps dropping off the network at 2 a.m. For anyone adding hardwired devices — smart switches, in-wall keypads, PoE cameras — professional help often pays for itself in avoided mistakes.
When DIY Actually Makes Sense
DIY works best when you’re sticking with wireless, plug-in, or battery-powered devices and you’re comfortable troubleshooting an app. If your project is limited to a few bulbs, a video doorbell, and a thermostat swap, there’s little reason to bring in a pro. The savings are real, and the learning experience helps you manage the system long-term.
How Much Should You Actually Budget?

Pricing varies wildly based on scope, brand loyalty, and how much automation you want running in the background. A starter kit might run you under $300. A fully integrated system with multi-room audio, automated blinds, and whole-house security can push well past $10,000. According to Angi, the national average for a smart home system in 2026 sits at $763, based on hundreds of verified projects. That figure is a useful middle-ground anchor, though most people end up either well below or significantly above it.
Here’s how costs typically break down across common categories:
- Smart lighting (bulbs, switches, dimmers): $100 to $1,500
- Thermostats and climate controls: $150 to $600 per unit
- Security cameras and video doorbells: $200 to $2,000
- Smart locks and entry systems: $150 to $500 per door
- Hubs, bridges, and network upgrades: $100 to $800
- Professional labor (if hired): $50 to $120 per hour
Budget creep is the most common complaint. People start with a thermostat, add a doorbell, then realize their Wi-Fi can’t handle 30 devices and suddenly they need a mesh router. Build a cushion of 15 to 20 percent into whatever number you land on.
Phased Rollouts Versus All-at-Once Installs
Another choice worth weighing: do you install everything in one weekend, or stretch it across months? Both approaches have merit, and the right answer depends on your tolerance for disruption and how certain you are about your ecosystem choice.
A phased rollout lets you test each layer before committing to the next. You buy a smart speaker, live with it for a month, then add lighting. If you discover you hate Google Assistant, you’ve only wasted the cost of one device instead of a whole house full of them. The downside is that integration gets messier — new products may not play nicely with older ones, and you’ll revisit the same rooms multiple times.
An all-at-once install gives you a cleaner, more unified system. Everything speaks the same protocol, follows the same naming convention, and gets configured together. It’s faster overall, but the upfront cost is brutal, and the learning curve lands all at once. For people managing a renovation, bundling smart tech into existing remodel tips and construction work usually makes the most sense, since walls are already open and electricians are already on site.
Hidden Costs People Forget to Plan For
The sticker price on a device is rarely the full cost. Subscriptions, accessories, and infrastructure upgrades add up fast, and they’re what separate a working smart home from a frustrating one.
Common extras that catch people off guard include:
- Monthly cloud storage fees for camera footage
- Premium automation features locked behind subscriptions
- Replacement batteries for sensors and locks
- Mesh Wi-Fi systems to handle device density
- Smart hub replacements when brands sunset older models
- Electrical work needed for neutral wires on smart switches
The Subscription Trap
Many devices now rely on a monthly fee to unlock their best features. A $200 camera might cost another $10 a month to actually store video. Multiply that across four or five cameras, a security system, and a premium automation platform, and you’re easily looking at $40 to $80 monthly on top of your original investment. Factor those recurring fees into your budget from day one, because they don’t go away.
Updated Home Guidance for Weighing Your Choices
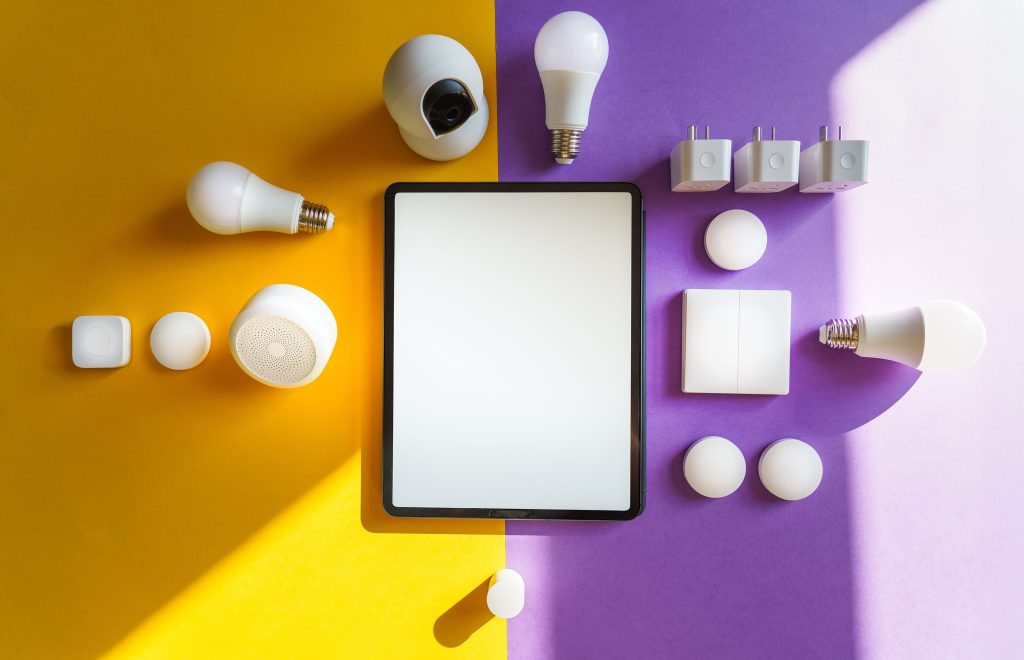
When you’re deciding between competing systems, it helps to think in terms of long-term flexibility rather than today’s features. Matter and Thread, the newer interoperability standards, are starting to break down the walled gardens that used to force people into one brand forever. Choosing devices that support these open standards gives you room to swap pieces later without replacing the whole setup.
Energy performance is another lens worth applying. According to Market.biz, smart heating and cooling systems can cut energy use by as much as 50 percent for households that fully commit to automated routines. That kind of reduction changes the math on payback periods, especially in regions with high utility rates. The benefits of smart home automation show up on your power bill month after month, not just in convenience.
Think about these comparison factors before pulling the trigger on any major purchase:
- Compatibility with Matter, Thread, or Zigbee
- Local processing versus cloud dependency for critical functions
- Warranty length and manufacturer track record
- Ease of removing or transferring devices if you sell the home
- Clear exit paths if a brand discontinues support
Planning Around Your Home’s Age and Wiring
Older homes bring complications that catch newer homeowners off guard. Houses built before the mid-1980s often lack neutral wires in switch boxes, which many smart switches require. Plaster walls make camera mounting harder. Thick exterior walls weaken Wi-Fi signals, forcing you to invest in additional access points. If your home falls into any of these categories, add a buffer to both your timeline and your budget before you start buying anything. Walking through each room with an electrician for even a single consultation can save you from ordering a dozen switches that won’t work with your existing boxes.
Realistic Timelines by Project Size
Most people underestimate how long configuration takes compared to physical installation. Mounting a camera might take 20 minutes, but naming it, assigning it to a room, setting up motion zones, connecting it to routines, and training family members to use it eats another hour easily. Multiply that across a whole house and the math gets real.
Here’s a rough sense of what to expect from start to functional finish:
- Single-room starter setup: one afternoon to a full weekend
- Whole-floor lighting and climate: two to four weekends
- Full-house automation with security: four to eight weeks with a pro, longer solo
- New construction integration: runs parallel with the build timeline
- Retrofit with wiring changes: add two to three weeks for electrical scheduling
Delays almost always come from the same sources: backordered devices, firmware updates that break integrations, and the time it takes to actually learn each app. Give yourself more runway than you think you need, especially if you’re relying on a single installer whose schedule may shift.
Conclusion
Building a smart home is less about chasing the latest gadgets and more about matching the system to how you actually live. The homeowners who end up happiest are the ones who took time to map out their priorities before spending a dollar — who knew whether they cared more about security, energy savings, convenience, or entertainment, and who built around that single anchor. Everyone else tends to accumulate devices that never quite work together.
Timeline and budget are two sides of the same decision. Rushing the install usually means paying more in rework later, while stretching it too thin can leave you with half-finished routines that never get polished. Whether you go DIY or hire a professional, whether you install in phases or commit all at once, the common thread is planning. A weekend spent on spreadsheets and floor plans is worth far more than a weekend spent returning incompatible hardware.
Start small if you’re unsure, scale up once you know what you actually use, and keep a running list of what’s working and what isn’t. A smart home is never really finished — it evolves as your habits change and as the technology improves. The best setup is the one you’ll still enjoy living with three years from now, not the one that looked most impressive on the day it was installed.