Stepping out your back door into a space that feels like a private resort changes the way you experience home. Imagine brewing coffee on a shaded patio while morning light filters through leafy branches, hosting effortless weekend dinners beside an outdoor kitchen, or unwinding by a crackling fire pit after sunset. Too often, however, homeowners approach a backyard transformation backward. They buy patio furniture before measuring traffic flow, plant specimen trees over buried utility lines, or lay decorative stone without fixing drainage problems. The result is usually a patchwork design, unexpected repair bills, and weekends spent fixing avoidable mistakes.
Creating a cohesive, lasting outdoor sanctuary requires treating your yard with the same architectural discipline you would apply to a kitchen remodel or home addition. By sequencing your project in logical phases—moving from site assessment and structural grading to hard surfaces, underground utilities, and lush plantings—you protect your budget and eliminate costly rework. Use this step-by-step blueprint to plan every detail of your backyard makeover from the ground up.
Audit Your Property, Clear Hazards, and Map Out a Master Design

Before browsing tile samples or picking out perennials, spend a weekend observing how your yard behaves. Walk the property at 8:00 AM, noon, and 5:00 PM to track where afternoon sun beats down and where natural shade settles. Notice prevailing breezes, noisy sightlines from neighboring streets, and low spots where rainwater lingers after a heavy downpour. Solving surface runoff and soil compaction at the beginning prevents standing water from undermining patios and drowning new garden beds later.
Once you understand your site conditions, inspect existing trees and overhead canopies. Mature trees add irreplaceable beauty and shade, but dead limbs, overcrowded branches, or invasive surface roots can threaten new patios and roofs. Before heavy machinery rolls onto your lawn, bring in a certified tree service to prune weak limbs, remove hazardous trunks, and raise dense canopies so sunlight reaches future lawn and garden zones. Clearing aerial and root hazards early keeps crews safe and gives healthy trees room to thrive.
With a clean slate, translate your wish list into a scaled master plan. Measure property boundaries, existing decks, windows, and door swings on graph paper, then sketch rough zones for dining, lounging, grilling, and play. Collaborating with a full-service landscaping company during this blueprint phase bridges the gap between inspiration photos and site realities. Experienced designers evaluate soil composition, climate zones, and microclimates so every element fits together harmoniously, even if you build the project in stages over two or three years.
- Call 811 at least a week before digging so local utilities can mark buried gas, electric, water, and fiber-optic lines across your yard.
- Document utility meters, septic tanks, wellheads, and hose bibs on your base map so new structures never block maintenance access.
- Measure window heights and indoor sightlines from your kitchen and living room so backyard focal points look inviting from inside.
- Set aside a 10 to 15 percent contingency fund for hidden underground surprises like buried concrete or poor soil.
Establish Privacy Boundaries and Solve Slope Challenges First
Great outdoor spaces feel sheltered and intentional, which starts with defining your perimeter and stabilizing uneven ground. Before ordering materials or digging post holes, review your property survey plat, municipal zoning ordinances, and homeowners association rules. Many municipalities enforce strict setback distances from property lines, cap maximum fence heights in side and rear yards, and require permits for structural walls exceeding three or four feet.
If your backyard slopes sharply away from your house or drops off toward a neighbor, grading and elevation management must happen first. Steep banks erode quickly during storms and leave homeowners with awkward, unusable turf. Partnering with an experienced retaining wall contractor allows you to carve dramatic hills into flat, usable terraces for seating areas, lawns, or raised vegetable beds. A properly engineered wall relies on a compacted crushed-stone footing, geogrid soil reinforcement, perforated drain pipe, and clean gravel backfill so hydrostatic pressure never causes the wall to bow or lean.
Once the terrain is stabilized, frame your property boundaries to create seclusion, block gusty winds, and keep pets or children safe. Scheduling professional fence services during this early structural phase ensures post holes are excavated and set in concrete before delicate flower beds, irrigation lines, or walkways are installed along the perimeter. Choose materials that complement your home’s architecture while matching your tolerance for upkeep:
- Natural cedar or redwood boards offer warm, timeless appeal and can be stained to match exterior trim, though they require resealing every few years.
- Vinyl and composite panels resist rot, warping, and insect damage, making them practical low-maintenance options for full-privacy boundaries.
- Powder-coated ornamental aluminum or steel fencing preserves scenic views of woods, ponds, or golf courses while establishing a secure boundary.
- Staggered horizontal slats or lattice-top panels soften rigid boundary lines and allow cooling summer breezes to filter through without sacrificing privacy.
Zone Your Outdoor Living Spaces and Connect Them with Walkways
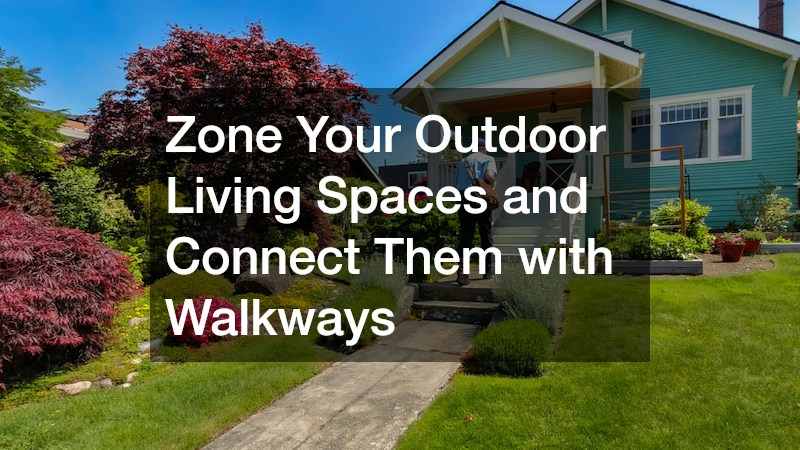
The secret to an inviting backyard is breaking an open expanse into distinct outdoor rooms, much like the floor plan inside your home. Instead of lining chairs against the back wall of the house, create dedicated destinations—such as a shaded dining terrace near the kitchen, a sun-drenched lounge area, and a quiet corner fire pit tucked deeper into the garden. Subtle shifts in elevation, overhead pergolas, built-in benches, and changes in surface texture naturally signal where one activity ends and another begins without solid walls.
Permanent masonry features give your yard structure and visual weight twelve months a year, even when winter strips leaves from the trees. Investing in custom hardscaping services lets you anchor your layout with natural stone seat walls, raised planters, an outdoor fireplace, or a boulder water feature. Built-in seating walls around a fire pit or patio edge eliminate clutter from extra chairs while maximizing guest capacity during gatherings.
Just as crucial as the destinations themselves are the pathways linking them together. Well-designed walkways guide guests intuitively through the yard, protect lawn grass from worn dirt trails, and prevent muddy shoes after morning dew. Working with a reputable paving company ensures your walkways and patios sit over an excavated, compacted aggregate base with heavy-duty edge restraints and polymeric joint sand that resists weeds and shifting. Keep circulation comfortable and safe by following proven spatial guidelines:
- Design primary walkways connecting the house to main dining or patio zones at least 48 inches wide so two adults can walk side by side.
- Keep secondary garden paths at least 36 inches wide to allow easy wheelbarrow access during seasonal mulching and pruning.
- Select textured, slip-resistant pavers or tumbled natural stone for pathways near pools, spas, and shaded corners where moss can form.
- Pitch paved surfaces at a gentle slope of roughly one-quarter inch per foot away from your home’s foundation so rainwater drains cleanly into surrounding beds.
Pour Durable Structural Foundations for Heavy Backyard Features

While interlocking pavers work wonderfully for patios and garden paths, heavy backyard additions demand rock-solid structural support beneath them. Features such as masonry outdoor kitchens, brick pizza ovens, timber-frame pavilions, storage sheds, and hot tubs exert immense concentrated weight. Setting these structures on shallow gravel or standard pavers invites uneven settling, cracked countertops, and sticking cabinet doors within a few freeze-thaw cycles.
Whenever your makeover includes heavy architectural elements, bring in skilled concrete contractors to pour reinforced structural pads and frost-depth footings. Experienced crews calculate the exact slab thickness required for your load—often six inches or thicker with steel rebar grids for spas and masonry islands—while incorporating control joints that prevent random surface cracking. They also verify proper drainage pitch and anchor bolt placement so pergolas and pavilions stay securely fastened through high winds.
Modern concrete no longer means settling for a sterile, plain gray sidewalk look. If you want seamless monolithic surfaces for a pool deck or covered patio, decorative finishing techniques mimic high-end natural materials at a competitive price point:
- Stamped concrete replicates the texture of flagstone, cobblestone, slate, or weathered wood planks when paired with integral color pigments and antiquing releases.
- Exposed aggregate finishes wash away the top paste layer to reveal colorful river pebbles or crushed granite, providing strong traction around wet pool decks.
- A clean broom finish with hand-tooled borders delivers timeless, budget-friendly slip resistance that pairs effortlessly with brick or natural stone accents.
- Acid or water-based stains add rich, variegated earth tones to cured slabs, helping large patio expanses blend naturally into surrounding garden beds.
Run Underground Utilities and Layer Your Evening Lighting
One of the most expensive mistakes in backyard remodeling is finishing a gorgeous patio only to realize you forgot power for the grill island, water for a prep sink, or wiring for pathway lights. Follow the golden rule of outdoor construction: trench and lay underground utilities before pouring concrete, setting pavers, or rolling out sod. Even if you plan to add an outdoor refrigerator, ceiling fan, or audio system in a future phase, laying empty PVC conduit sleeves beneath hard surfaces today saves thousands of dollars in demolition later.
Because outdoor electrical systems endure moisture, temperature swings, and shifting soil, safety and code compliance are non-negotiable. Hire licensed electricians to run buried conduit at proper code depths, install weatherproof in-use GFCI receptacles, and wire dedicated circuits for high-draw appliances like hot tubs, radiant patio heaters, or outdoor kitchen equipment. Professionals also size low-voltage transformers accurately so distant garden lights shine consistently without voltage drop.
Thoughtful lighting extends the usability of your backyard well past sunset while elevating evening ambiance and security. Rather than flooding the yard with harsh spotlights, layer warm bulbs in the 2700K to 3000K range across three distinct functional tiers:
- Place focused downward task lighting over outdoor grill grates, prep countertops, and serving bars so the cook can see clearly without glare.
- Install low-profile, shielded pathway lights along walkways, deck stairs, and elevation transitions to prevent trips and guide guests safely after dark.
- Aim subtle, narrow-beam uplights at specimen tree trunks, textured stone walls, or water features to create dramatic depth and silhouettes at night.
- Connect exterior lighting zones to smart astronomical timers or dimmers so fixtures turn on automatically at dusk and adjust to match any gathering.
Layer Lush Greenery, Add Finishing Details, and Protect Your Investment
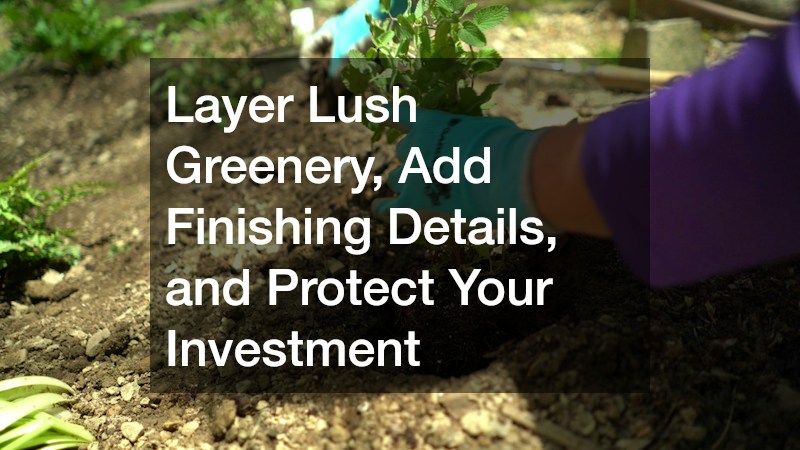
Once heavy excavation, masonry, and trenching wrap up, softscaping breathes life, softness, and seasonal color into your architectural framework. Resist buying one of everything at the nursery; instead, plant in cohesive drifts and layered heights. Anchor the back of planting beds with structural evergreen shrubs that maintain year-round privacy, weave in mid-sized flowering shrubs and ornamental grasses for movement, and finish front edges with low-growing perennials and creeping groundcovers that crowd out weeds.
Healthy plants depend on what happens beneath the soil surface. Construction traffic inevitably compacts backyard dirt, so loosen planting beds thoroughly and enrich them with organic matter before planting. Stock up on high-quality garden products—including nutrient-rich compost, slow-release organic fertilizers, shredded hardwood mulch, and drip-irrigation tubing—to give new roots the best start. Drip irrigation delivers water slowly right to the root zone, slashing evaporation losses while keeping foliage dry and disease-free.
Before rolling out outdoor rugs and lounge cushions, give your property a final polish. Remodeling leaves behind fine stone dust, dried mud splatters, and residue across decks, siding, driveways, and freshly laid stonework. Scheduling a professional pressure washing company as your final prep step safely strips away construction grime and chalky mineral efflorescence without etching delicate surfaces. Once everything is clean and dry, apply breathable penetrating sealers to pavers, natural stone, and wood structures so your investment stays vibrant and stain-resistant for years.
- Group plants with matching sunlight and moisture needs into distinct hydrozones so drought-tolerant natives are never overwatered alongside thirsty perennials.
- Apply a two- to three-inch layer of shredded bark mulch across bare soil, keeping mulch pulled a few inches back from tree trunks and siding to prevent rot.
- Choose weather-resistant outdoor textiles—such as solution-dyed acrylic cushions and powder-coated aluminum or teak frames—that withstand UV rays and summer showers.
- Schedule an annual spring walk-through to flush drip-irrigation filters, inspect paver joints, clean light lenses, and refresh mulch before entertaining season begins.
Transforming an ordinary yard into a breathtaking outdoor living space does not happen overnight, nor does it require finishing everything in one frantic summer. When you follow a disciplined sequence—auditing site conditions first, stabilizing slopes and boundaries second, building structural hardscapes and underground utilities third, and layering plants and lighting last—every phase supports the next. You avoid torn-up patios, wasted materials, and mid-project guesswork.
Grab a tape measure, a clipboard, and a pad of graph paper this weekend to walk your yard with fresh eyes. Sketch your property dimensions, note where the sun lands at dinner time, and write down the top three ways your family wants to enjoy the outdoors. With that simple starting map in hand, you are ready to turn your backyard vision into an enduring reality.