
Planning a major home renovation is an exciting milestone, but it often brings a hidden temptation: jumping straight to cosmetic enhancements. It is easy to get caught up choosing quartz countertops, custom cabinetry, oak hardwood floors, or designer tile patterns. However, focusing solely on surface-level aesthetic improvements before securing your property’s foundational integrity is one of the most expensive mistakes a homeowner can make.
Executing a successful renovation requires a sequence-first strategy. Before laying down high-end interior finishes, you must ensure that your site, structural shell, drainage, electrical grid, and water systems are completely sound. Protecting your living space from water damage, power disruptions, solar decay, and structural shifts safeguards your investment for decades to come. By prioritizing structural and infrastructure upgrades ahead of cosmetic designs, you create a safe, stable, and durable foundation for all your future improvements.
Phase 1: Site Preparation and Groundwork
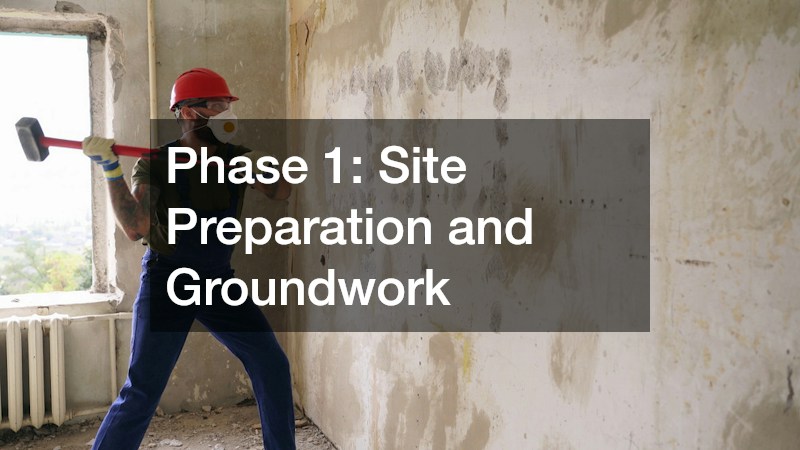
Before embarking on transformative projects within your home, such as knocking down interior walls or constructing an additional extension, it is crucial to take a comprehensive look at the existing conditions surrounding and supporting your structure. Proper preparation of the site is quintessential, as it lays the groundwork for all subsequent phases of construction.
Assessing Topography, Soil Stability, and Heavy Machinery Access
Every substantial construction endeavor begins with a thorough understanding of the terrain beneath your property. The condition and quality of the soil are instrumental in determining how effectively the foundation can support any additions, such as retaining walls or outdoor living areas. Factors like soil expansion and inadequate drainage are pivotal, as they have the potential to cause structural settling, cracking, and unwanted movement that might affect the stability of your main structure.
Before deploying heavy machinery onto your property, a series of essential preparatory steps should be undertaken:
- Identify utility locations: It is imperative to contact local utility locator services before any soil disturbance to accurately map out the locations of underground utilities, including gas lines, electrical conduits, fiber optic cables, and water pipes.
- Evaluate soil composition: Assess whether the soil on your property is predominantly clay-based, known for its tendency to expand, or composed mainly of sand, which is prone to erosion. Understanding the soil type can guide decisions on the type of foundation that should be implemented.
- Plan heavy equipment pathways: Thoughtfully designate entry and exit paths for heavy machinery. These paths should be carefully planned to prevent compacting the root systems of mature trees or damaging existing infrastructure, such as driveway paving.
In circumstances where extensive site grading is essential, deep footings are necessary, or substantial earth moving is anticipated, it is highly recommended for homeowners to seek the expertise of professional excavating contractors.
Protecting Property Lines and Establishing Safe Construction Boundaries
Heavy equipment movement and material staging often extend close to property borders. Defining boundaries before construction prevents property disputes with neighbors and keeps surrounding areas safe.
Clear physical limits protect children, pets, and workers during excavation and framing phases. Partnering with an experienced fence contractor to install containment fencing ensures your project complies with municipal zoning rules, protects public sidewalks, and outlines precise work zones.
Actionable Site Prep Checklist
- Verify property lines via an updated property survey before ground disturbance.
- Apply for required municipal site disturbance and grading permits.
- Install temporary erosion controls, such as silt fences, around slopes to prevent runoff onto neighboring properties.
Phase 2: Fortifying the Building Envelope
Once your site is properly prepared, focus turns upward to the building envelope. The exterior shell of your home protects everything inside from moisture, extreme thermal shifts, and wind damage. Renovating interior spaces beneath an unverified roof or outdated windows invites water leaks and high energy bills.
Safeguarding the Overhead Structure Against Moisture Infiltration
Your roof is the first line of defense against severe weather. Minor flashing tears or aged shingles can allow subtle, slow leaks that destroy brand-new interior drywall, ceiling insulation, and custom cabinetry.
Key signs that your roof structure requires immediate attention include:
- Curled, missing, or brittle shingles: Indicates advanced wear and loss of weather-proofing capability.
- Damaged roof valleys: Valleys handle the highest volume of water runoff and are prime targets for leaks.
- Clogged or sagging gutters: Prevents smooth water clearance, leading to ice dams and fascia board rot.
Partnering with a licensed residential roofing contractor to perform a structural tear-off or detailed restoration before framing new interior spaces ensures your fresh living areas remain completely dry.
Optimizing Glass Surfaces for Solar Control and Energy Savings
Windows allow natural light into your living spaces, but untreated glass can let in excessive solar heat and damaging ultraviolet radiation. UV rays cause rapid fading and degradation of high-end interior finishes, including hardwood flooring, custom upholstery, and painted trim.
Applying professional home window tinting solutions reduces solar heat gain, cuts harsh glare, protects expensive interior finishes from UV breakdown, and improves climate control without reducing incoming daylight.
Actionable Building Envelope Checklist
- Inspect attic spaces for hidden moisture stains, mold growth, or inadequate insulation coverage.
- Inspect window frames and exterior caulking for air leaks and moisture entry points.
- Verify that attic ventilation systems maintain balanced intake and exhaust airflow.
Phase 3: Sub-Grade Protection and Moisture Defense
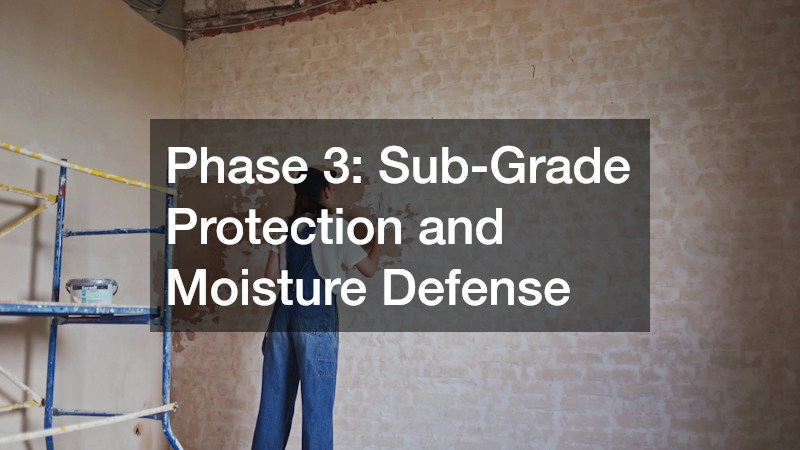
Water always takes the path of least resistance. Below-grade spaces like basements and crawl spaces are vulnerable to hydrostatic pressure—the force exerted by groundwater against foundation walls. Renovating a basement without eliminating water intrusion risks mold growth, ruined flooring, and structural wall failure.
Diagnosing Foundation Cracks and Hydrostatic Pressure Risks
Groundwater accumulation around foundation walls creates intense lateral pressure. Over time, this pressure forces water through concrete pores, construction joints, and microscopic wall cracks.
Watch for these early signs of subgrade moisture problems:
- White, powdery deposits (efflorescence) on concrete basement walls.
- Persistent musty odors signaling dampness or fungal growth behind finished walls.
- Hairline cracks spreading across concrete slab floors or masonry walls.
Implementing comprehensive basement waterproofing methods—such as installing interior drainage channels, perimeter sumps, and exterior vapor membranes—ensures lower-level living spaces stay dry.
Evaluating Specialized Water Mitigation Specialists
Sub-grade drainage systems require specialized engineering, dedicated tools, and proven experience to perform under heavy rainfall. Relying on superficial sealants or interior paints only hides water issues temporarily without solving the pressure problem.
Vetting credentials, warranty structures, and track records of top-rated basement waterproofing companies prior to framing lower-level walls guarantees that your living space stays dry for years to come.
Actionable Sub-Grade Defense Checklist
- Extend exterior gutter downspouts at least six feet away from foundation walls.
- Test existing sump pumps by pouring water into the pit to verify float switch action.
- Check exterior grading to ensure soil slopes away from foundation walls on all sides.
Phase 4: Critical Utility and System Upgrades
A comprehensive home remodel often increases electrical demand and water usage. Modern kitchens, luxury bathrooms, home offices, and climate control systems strain older utility infrastructure. Updating these core mechanical systems before finishing walls ensures long-term safety, efficiency, and operational stability.
Securing Continuous Power During Emergency Grid Outages
Major renovations add modern electrical loads, from high-draw kitchen appliances to complex media rooms. Power outages during severe winter storms or summer heatwaves disrupt home comfort and risk damaging sensitive modern electronics.
Keep your home running smoothly with these emergency power steps:
- Determine essential power needs: Calculate the wattage necessary to run critical systems like refrigeration, medical devices, HVAC equipment, and sump pumps.
- Inspect transfer switches: Ensure your electrical panel integrates safely with auxiliary power units to prevent grid backfeeding.
- Establish regular system testing: Run backup power units under load periodically to confirm functional readiness.
Scheduling routine generator repairs or complete system tune-ups keeps emergency power systems reliable when grid outages occur during heavy construction or extreme weather events.
Improving Indoor Water Quality Across All Plumbing Fixtures
Upgrading bathrooms and kitchens with luxury brass fixtures, custom tile, and modern appliances requires clean, balanced water. Hard water minerals and chemical contaminants corrode internal plumbing, leave unsightly mineral buildup on new fixtures, and shorten appliance lifespans.
Hiring a certified whole home water filtration installer ensures incoming municipal or well water is filtered at the main point of entry. This process eliminates harsh minerals and impurities, protecting your entire plumbing network.
Actionable Utility Infrastructure Checklist
- Test incoming water supply for hardness, iron content, and total dissolved solids.
- Verify that your main electrical panel provides sufficient amperage for planned home additions.
- Schedule annual service checks for emergency backup equipment and mechanical systems.
Phase 5: Security and Whole-Home Integration
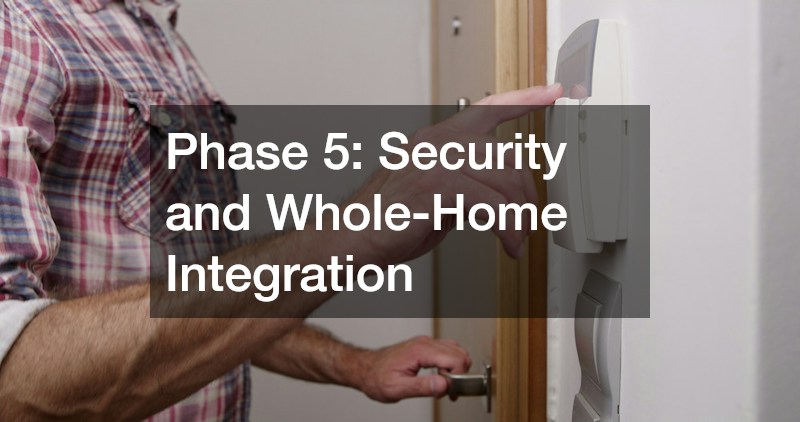
As your renovation nears completion, focus turns to protecting your investment with smart home technology and secure entry systems. Integrating security features early allows installers to hide wiring inside open wall cavities, avoiding messy surface-mounted conduits later.
Implementing Comprehensive Property Monitoring and Perimeter Access
A secure home offers peace of mind. Installing integrated security devices during early rough-in construction ensures clean visual appeal and reliable coverage across all entry points.
Key elements of a comprehensive home defense setup include:
- Hardwired door and window contacts that detect entry attempts without relying on batteries.
- Motion and glass-break sensors positioned strategically in high-risk zones.
- High-definition exterior cameras covering driveways, side yards, and blind spots.
Working with a certified home security company during initial framing allows technicians to run concealed low-voltage wiring for a clean, professional finish.
Coordinating Specialized Trades for Large-Scale Transformations
When projects expand from single-room updates into whole-house transformations, trade coordination becomes crucial. Managing multiple contractors, municipal building permits, material deliveries, and inspections requires careful organization.
Understanding how individual trades interact keeps your project running smoothly on schedule:
- Excavation and site grading work must occur before concrete pouring or structural framing.
- Roofing and exterior envelope seals must be finished before rough electrical and plumbing installations begin.
- Utility upgrades, water filtration, and security wiring must be completed before insulation and drywall are applied.
Recognizing when a large-scale renovation evolves into building a custom home allows you to assemble the right architectural, engineering, and contracting teams early, preventing costly delays and rework.
Actionable Integration Checklist
- Create a master wiring diagram for low-voltage security, audio, and network cabling.
- Schedule trade handoffs logically to avoid overlapping crews in tight work zones.
- Confirm that all rough-in building, electrical, and plumbing inspections are signed off before closing up walls.
Project Management Strategies for Multi-Trade Remodels
Managing a complex, multi-trade home remodel requires clear organization, open communication, and firm contractor oversight. Even the best trade professionals need clear timelines, detailed scopes of work, and structured site rules to perform efficiently.
Establishing Written Scopes of Work and Clear Contracts
Never rely on verbal agreements or vague estimates. Every specialized trade contractor working on your property should operate under a detailed, written agreement that clearly outlines project scope, timelines, and payment terms.
Key elements of a professional trade contract include:
- Itemized scopes of work: Detailed breakdowns of materials, labor, demolition responsibilities, and site cleanup duties.
- Milestone-based payment schedules: Payments tied directly to completed, inspected work rather than calendar dates.
- Change-order protocols: Mandatory written authorization for any adjustments to the scope, budget, or timeline before work begins.
Streamlining Communication and Site Management
Coordinating multiple specialized trades requires a centralized communication strategy. Misunderstandings between trade contractors can lead to scheduling conflicts, ruined work, and costly project delays.
Implement these effective project management habits:
- Hold weekly site alignment meetings: Review upcoming schedules, resolve trade conflicts, and address site access issues with lead contractors.
- Maintain a digital project log: Document daily progress with high-resolution photos before walls are closed with insulation and drywall.
- Enforce daily site cleanup standards: Require every crew to clear debris, store materials safely, and sweep work areas at the end of each workday.
By establishing strong contracts, enforcing clear safety standards, and managing trade workflows carefully, you protect your budget and keep your renovation running on schedule.
Using This Guide for Home Upgrades

Remodeling your home is a major financial and emotional commitment. While designer finishes and modern open-floor concepts define the visual success of a project, the true longevity of your investment relies on the quality of your underlying infrastructure.
By taking an infrastructure-first approach—securing your site, building envelope, foundation moisture defenses, primary electrical utilities, and perimeter security—you create a safe, stable environment for your renovation. Partnering with qualified, licensed trade professionals early in the planning process prevents expensive mistakes, eliminates hidden property hazards, and ensures your newly remodeled space remains beautiful, functional, and comfortable for decades to come.